Can a Telescope Take Pictures
Here’s something that catches beginners off guard: most telescopes you see in stores don’t take pictures on their own. They’re built purely for visual observation, like sophisticated binoculars for your eye. But before you feel disappointed, let me share what’s actually possible, because this is where things get exciting.
Can a Telescope Take Pictures? What You Need to Know About Astrophotography
The short answer is yes, but probably not how you’re imagining it. A standard telescope is essentially a light-gathering tube with lenses or mirrors. Think of it as a camera lens without the camera body. You need to add imaging capability to capture those breathtaking space photos you’ve seen online.
I remember setting up my first telescope on a crisp autumn evening, expecting to somehow save what I was seeing through the eyepiece. Reality hit fast. Visual telescopes and imaging telescopes serve different purposes, though the line between them has blurred significantly in recent years.
How Telescopes Actually Capture Images
When astronomers talk about telescopes taking pictures, they’re really discussing astrophotography, which combines a telescope with a camera system. The telescope collects and focuses light, while the camera (or your smartphone) records it. It’s a partnership, not a solo act.
The most accessible method is smartphone astrophotography, which uses an adapter to align your phone’s camera with the telescope’s eyepiece. This technique, called afocal photography, works surprisingly well for bright objects like the Moon, Jupiter, and Saturn. You’re essentially photographing what you’d see with your eye, but your phone’s sensor can capture details your brain might miss in the moment.
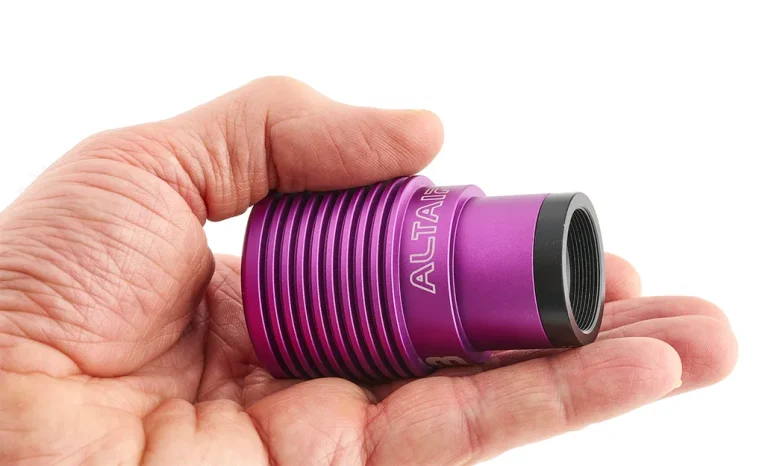
Then there’s the serious approach: attaching a dedicated astronomy camera directly to the telescope. Remove the eyepiece, thread in the camera where your eye would normally go, and you’ve got a powerful imaging system. These specialized cameras have cooled sensors that reduce electronic noise during long exposures, something that matters when you’re photographing objects thousands of light-years away that barely register as a smudge of light.
What Makes a Telescope Good for Photography
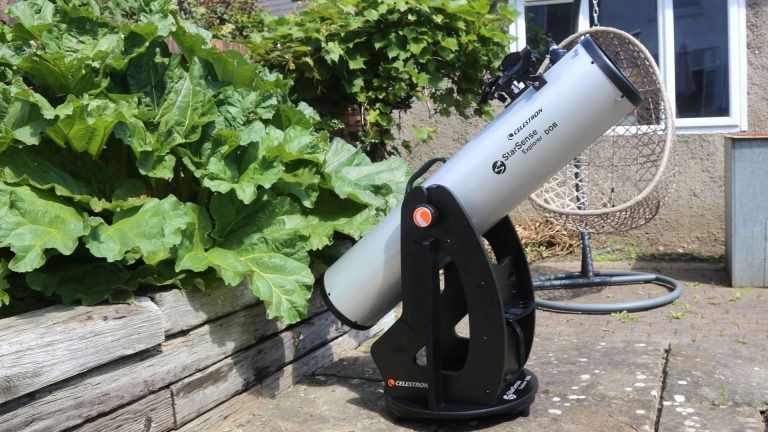
Not all telescopes play nicely with cameras. A telescope’s focal length and aperture determine what you can photograph and how well. Refractors with focal lengths around 400-1000mm excel at planetary imaging, where you need high magnification to capture Jupiter’s cloud bands or Saturn’s Cassini Division.
For deep-sky objects like nebulae and galaxies, you want a wider field of view and serious light-gathering power. Many astrophotographers love telescopes with fast focal ratios (f/4 to f/6) because they collect more light in shorter exposure times. Here’s something interesting: the best visual telescopes aren’t always the best for imaging. A telescope optimized for visual use might have optical aberrations near the edges of its field that your eye compensates for automatically, but a camera sensor records these imperfections mercilessly.
Smart Telescopes Have Changed Everything
The newest category, smart telescopes, have cameras built right in. Devices like the Unistellar eVscope or Vaonis Stellina are self-contained imaging systems that locate objects, track them automatically, and capture images through a smartphone app. They’ve essentially answered “can a telescope take pictures” with a resounding yes, by making the camera an integral component rather than an add-on.
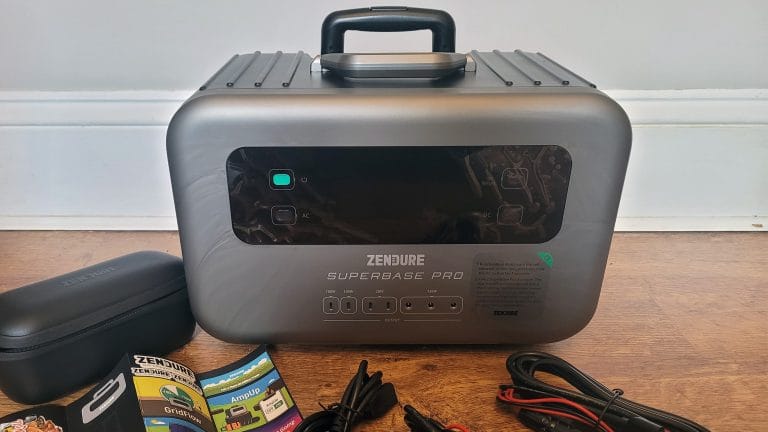
These automated systems use electronically assisted astronomy (EAA), stacking multiple short exposures in real-time to reveal faint objects instantly. Where traditional methods require hours of imaging, processing, and frustration, smart telescopes deliver gratification in minutes. The trade-off? They’re pricey (typically $2,000 to $5,500 [£1,500 to £4,000]) and offer less flexibility than building your own setup.
The Challenge Nobody Warns You About
Earth rotates. This simple fact complicates everything in astrophotography. During a 30-second exposure, stars streak across your image unless your telescope tracks the sky’s rotation. A motorized equatorial mount solves this by rotating your telescope at precisely the same rate Earth spins, keeping celestial objects stationary in your frame.
Quality mounts cost as much as the telescope itself, sometimes more. I’ve seen beginners invest $500 in a telescope, then realize they need another $800 for a mount capable of tracking accurately enough for photography. It’s like buying a sports car only to discover you need a special garage to store it properly.
Even with tracking, tiny errors accumulate over minutes. That’s why serious astrophotographers use autoguiding systems, which employ a second small telescope and camera to monitor a guide star and make micro-corrections throughout the exposure. We’re talking corrections of a few arc-seconds, roughly the width of a coin viewed from two kilometers away.
What Can You Actually Photograph
Your first smartphone shots through a telescope will likely be lunar craters. The Moon is bright, close (astronomically speaking), and forgiving of beginner mistakes. You can handhold your phone against the eyepiece and still capture recognizable images.
Planets require more patience but remain achievable. The technique involves recording video (typically thousands of frames), then using software like AutoStakkert to analyze each frame, discard the blurry ones affected by atmospheric turbulence, and stack the sharpest ones. What emerges often surpasses what you saw through the eyepiece. Jupiter’s Great Red Spot, Mars’s polar ice caps, and Saturn’s ring structure all become accessible targets.
Deep-sky objects demand a completely different approach. Emission nebulae like the Orion Nebula, reflection nebulae, and distant galaxies require long total exposure times, often 2-6 hours of integrated exposure spread across multiple nights. You’re not really taking a picture anymore; you’re collecting photons over time like filling a bucket one drop at a time.
The Temperature Factor
Here’s an insight most guides skip: sensor temperature dramatically affects image quality. Astronomical cameras cool their sensors to temperatures like -10°C (14°F) or even -30°C (-22°F) below ambient. This cooling reduces thermal noise, those random pixels that light up from heat rather than actual photons from space. Some advanced setups use liquid cooling systems circulating chilled water or coolant through the camera housing, similar to how gaming computers manage heat.
Starting Your Imaging Journey
If you already own a telescope, begin with your smartphone and a $20-$40 (£15-30) phone adapter. This low-risk experiment shows whether astrophotography excites you enough to invest further. Try the Moon first, then bright planets when they’re visible.
When you’re ready to commit, consider a telescope designed specifically for imaging. Many astrophotographers recommend starting with a compact refractor (80-100mm aperture) or a small reflecting telescope on a computerized mount. The entire package, including mount, telescope, and entry-level astronomy camera, runs $1,300 to $2,700 (£1,000-2,000) for a capable system.
Alternatively, those smart telescopes I mentioned earlier eliminate the learning curve. You set them up, they find objects automatically, and you’re imaging within minutes. They’re controversial among traditionalists who argue you’re not really learning astronomy, but they’re undeniably effective at producing images quickly.
The Software Side of Sky Photography
Taking the pictures is only half the battle. Image processing transforms raw telescope data into those stunning photos you see online. Software like PixInsight, Adobe Photoshop (with astronomy plugins), or free alternatives like GIMP and Siril help you stack multiple exposures, remove noise, enhance contrast, and tease out subtle details.
The processing workflow involves calibration frames: dark frames (exposures with the lens cap on to map sensor noise), flat frames (evenly illuminated frames showing optical imperfections), and bias frames (zero-length exposures capturing baseline sensor characteristics). Subtracting these calibration frames from your actual images removes systematic errors, leaving only genuine signal from space.
Does this sound complicated? It is, initially. But modern software wizards automate much of the process, and the community shares workflows extensively. Within a few months, what seemed impossibly technical becomes routine.
Reality Check: Managing Expectations
Those Hubble images with vibrant colours and incredible detail? They’re composites of dozens of exposures, often taken through different filters and combined using professional techniques. Your first attempts will look nothing like that, and that’s completely normal.
Astrophotography rewards patience and persistence more than expensive equipment. I’ve seen $500 setups produce better images than $5,000 gear in the hands of someone who hasn’t learned proper technique. Accurate polar alignment, good focus, managing dew formation on optics, and understanding your processing software matter more than aperture size.
Light pollution remains your biggest enemy. That gorgeous dark nebulosity in Hubble photos? It’s nearly invisible from suburban locations where skyglow from city lights overwhelms faint deep-sky objects. Many astrophotographers drive to dark-sky sites, while others invest in specialized narrowband filters that block light pollution wavelengths while passing through specific emission lines from nebulae.
The Bottom Line
Can a telescope take pictures? With the right additions, absolutely. Whether you attach a smartphone, mount a dedicated astronomy camera, or invest in a smart telescope with integrated imaging, capturing the cosmos is more accessible now than at any point in history.
The real question isn’t about capability anymore; it’s about your goals and budget. Casual lunar and planetary photography works with modest gear and yields satisfying results within weeks. Serious deep-sky imaging demands substantial investment in equipment, software, and learning time, but delivers images you’ll proudly share for years.
Start simple, experiment with what you have, and let your interest guide your investments. The universe isn’t going anywhere, and those galaxies will still be there when you’re ready to photograph them properly. What matters is taking that first exposure, seeing light that traveled millions of years captured by your own equipment, and feeling connected to something magnificently larger than ourselves.